

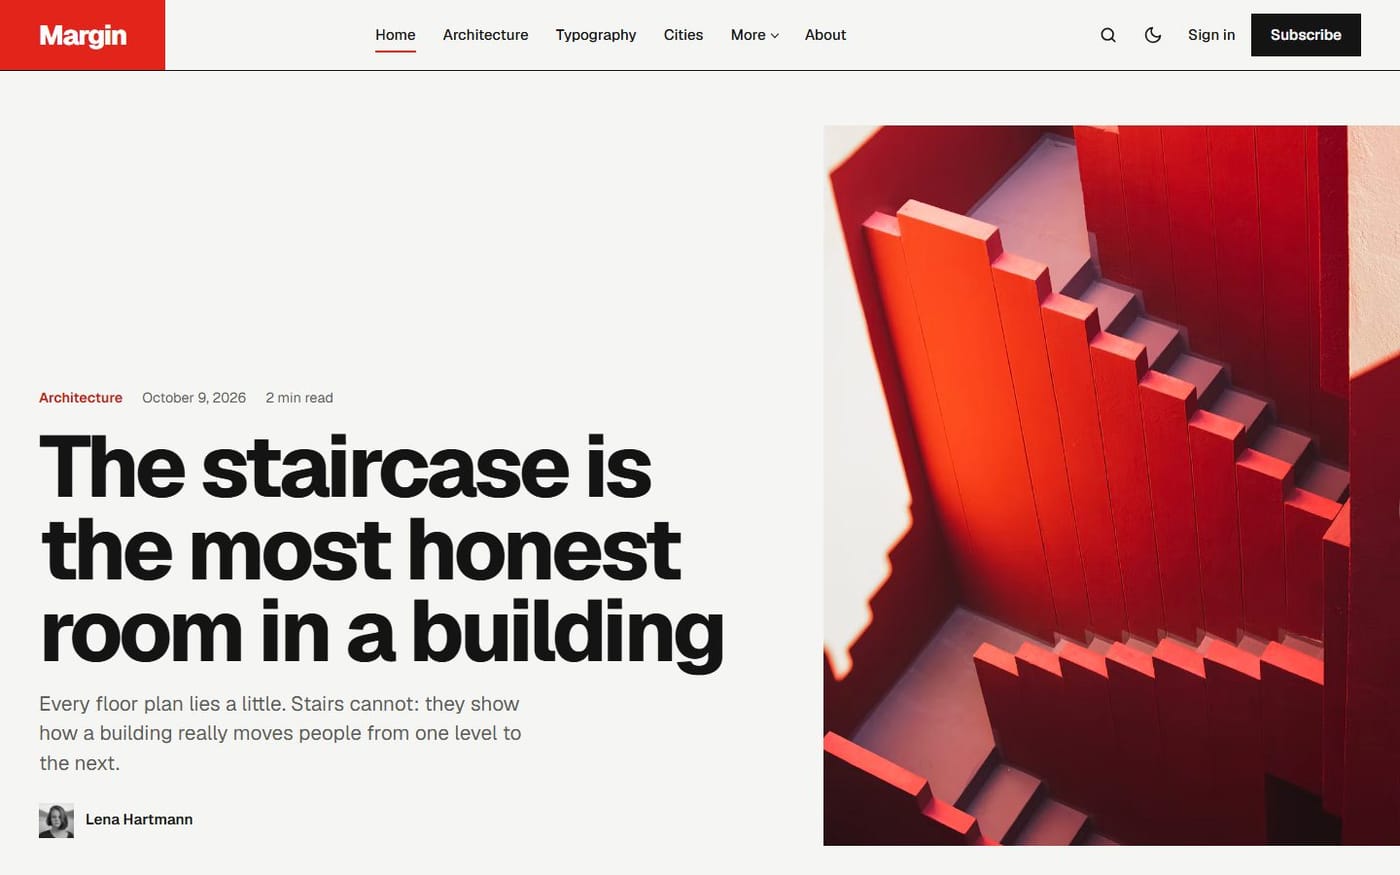
This guide takes you from an empty Ghost site to a blog you can share with friends. We use our theme Kontur for the screenshots, but the steps are the same with any Ghost theme. Count about an hour.

1. Get a Ghost site
Two options. Ghost(Pro), the official hosting: you sign up and your site is ready in a minute (choose a plan that accepts custom themes). Or your own server: cheaper per month, but you install and update Ghost yourself. If you are not technical, start with Ghost(Pro) or ask us to set it up.
2. Install your theme
In the admin, open Settings → Design & branding → Change theme → Upload theme, select the zip and click Activate. Our installation guide has the details. Every theme of the collection comes with demo content: import it on a fresh site to start from a finished look, then replace the posts with yours.
3. Title, description and logo
In Settings → General, write your site title and a one-line description: they appear in Google and on social networks. In Design & branding, add your logo and choose an accent colour. In Kontur, a site without a logo shows its name in a block of that colour; the text on it turns dark or light by itself, so any colour stays readable.
4. The menu
In Settings → Navigation, add the links of your top menu: Home, About, your main topics. With Kontur, a label that starts with a dash (-Objects) becomes a sub-link of the entry above it.
5. Your first post
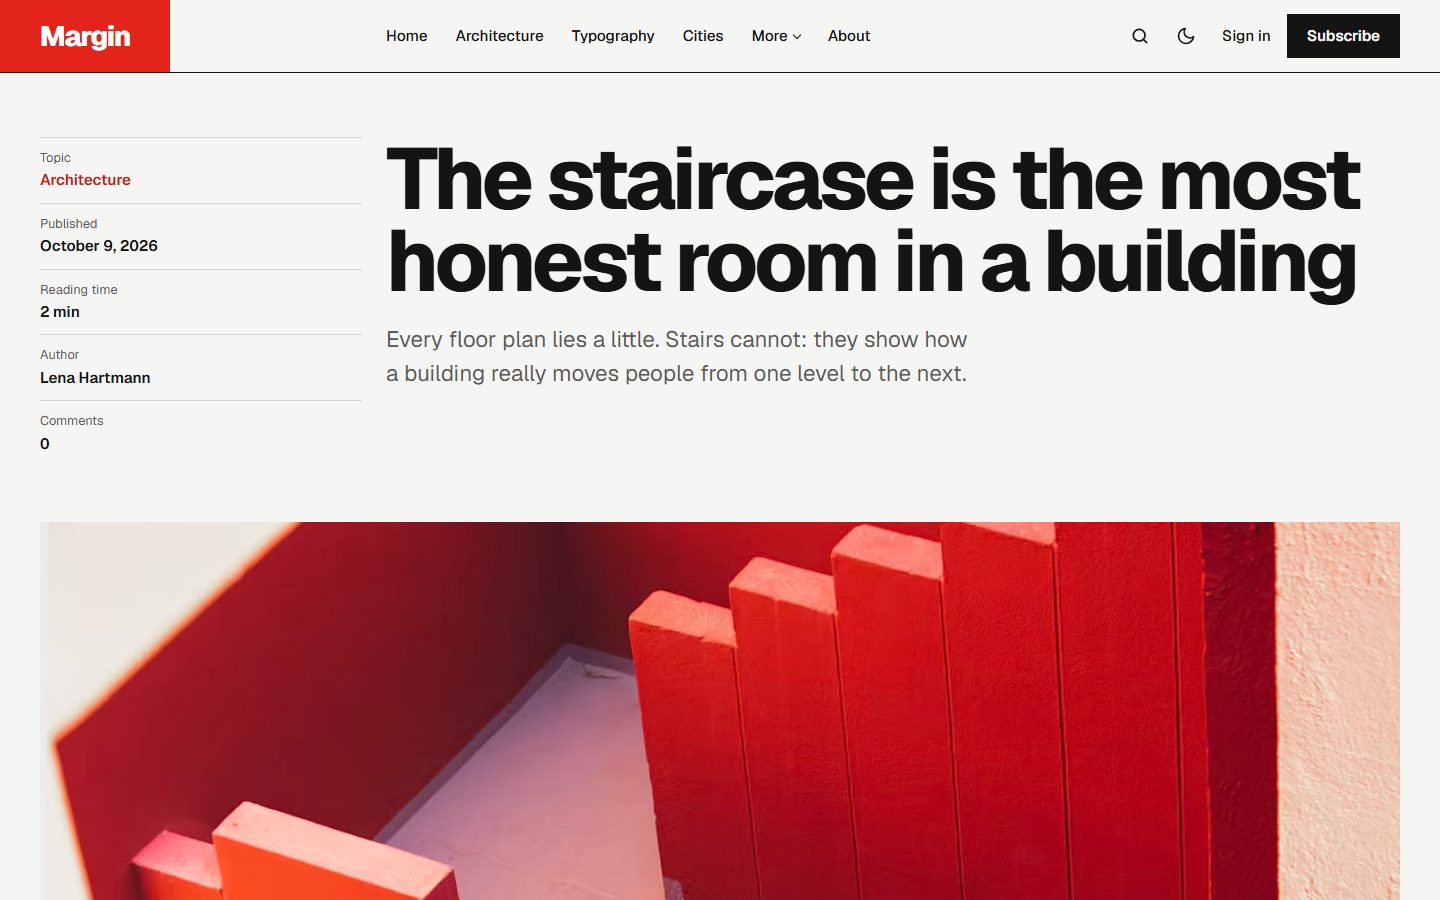
Click New post. Write a title, add a feature image at the top, then write. Before publishing, open the settings panel (the icon at the top right) and fill in three things:
- Tags: the topic of the post. The first tag is its main section.
- Excerpt: one or two sentences shown on the homepage and in search results.
- Feature this post: tick it for your best story. Kontur puts it at the top of the homepage.
6. Shape the homepage
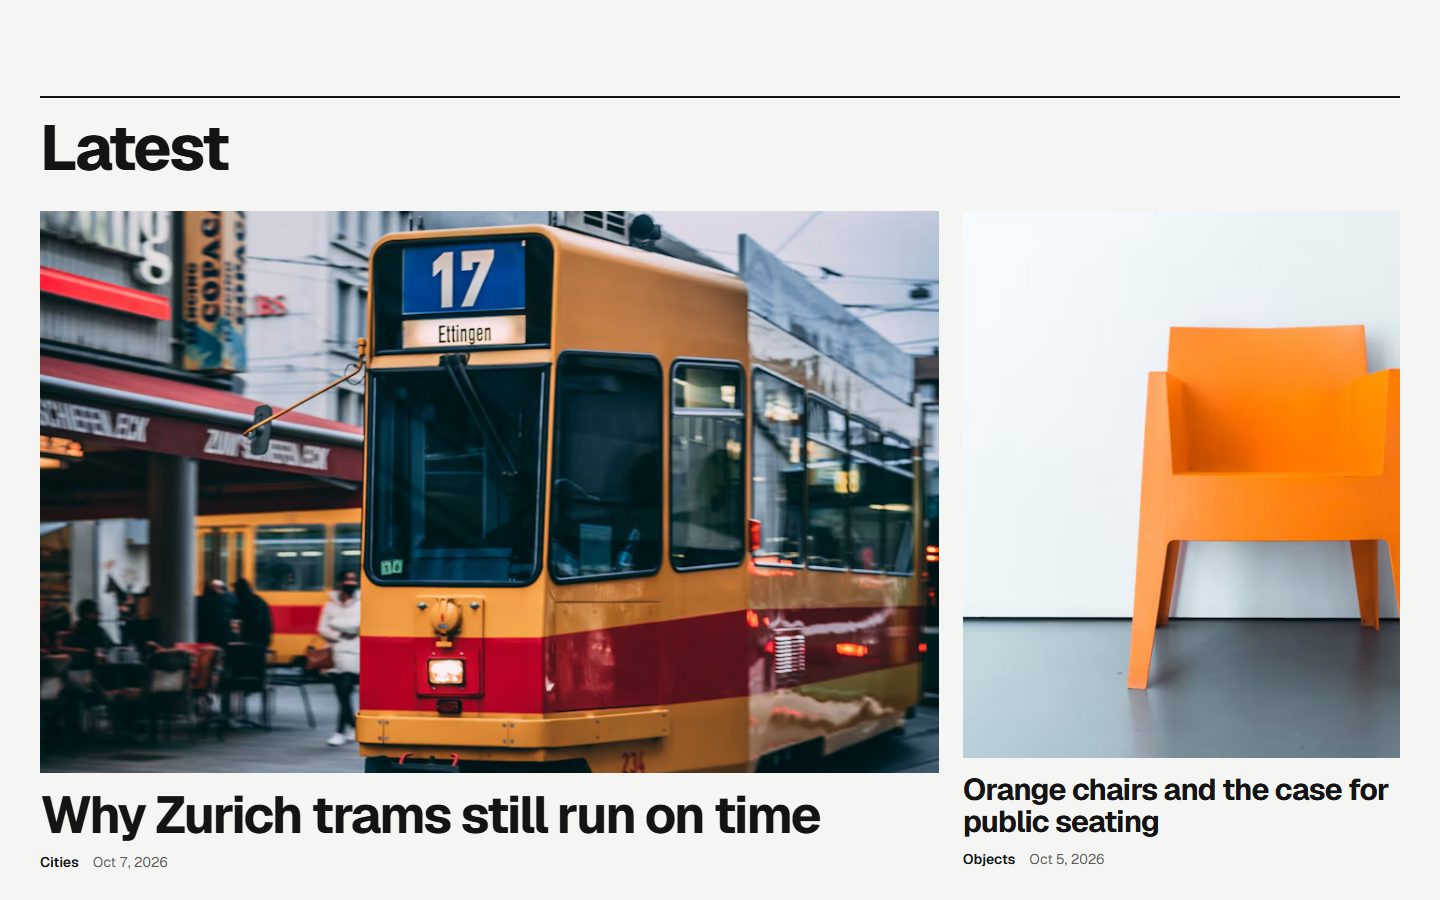
Open Design & branding → Customize. Each section of the homepage has its switch. In Kontur, you choose how your latest posts appear — Posters, a wall of large images, or Pan, where they slide sideways as the reader scrolls — and you pick one of three typefaces. Turn off what you do not need yet: a section without content hides itself anyway.
7. Turn on the newsletter
In Settings → Membership, let readers sign up. The form appears on your site at once — in Kontur, a block of your accent colour, hidden for readers who already subscribed. From now on, when you publish, Ghost asks whether to send the post by email too. Read Ghost newsletters, the practical way for the next steps.
That is it
Publish two or three posts before you share the address: a homepage with a single story looks empty. Then write regularly; Ghost takes care of the rest.


